Maps and modes
Noob Tower Defense Maps & Game Modes
Track Noob Tower Defense confirmed maps, difficulty modes, farming routes, event map notes, map pressure, and unverified map names before planning a loadout. This guide focuses on gameplay planning, not trade value, fake code claims, or unverified reward numbers.

Confirmed and tracked maps
Noob Tower Defense Maps
This section separates stronger map planning signals from names that still need verification. Base Plate is useful for beginner and farming tests. Museum is tracked as a search and source-check item, not as a confirmed official map.
Confirmed-style planning map
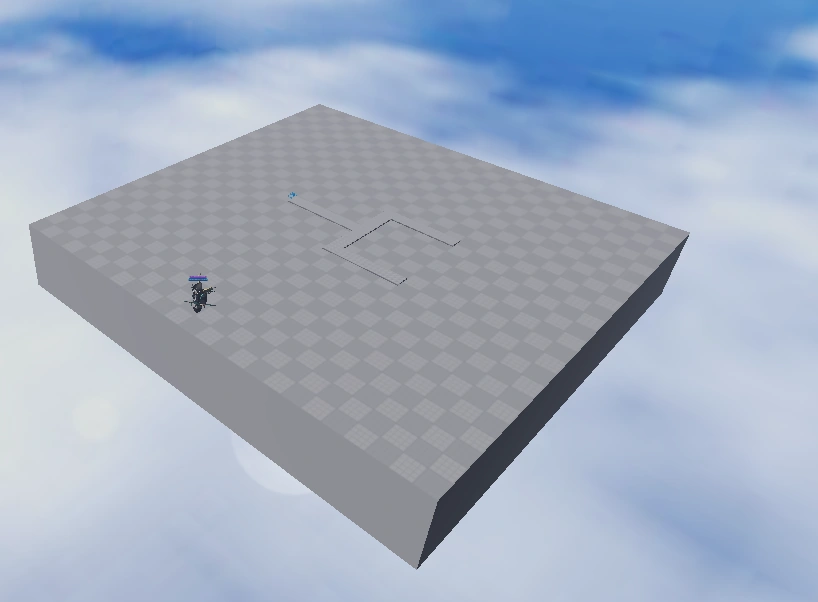
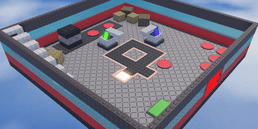
Base Plate
Base Plate is the safest map to use as a beginner planning and farming test page because the route is simple, the enemy path is easier to read, and players can compare Farm timing, DPS placement, and boss damage without adding extra map complexity.
- Best used for beginner route learning and repeatable loadout checks.
- Good for testing Farm economy timing before pushing harder modes.
- Do not treat any coin, XP, or reward rate as confirmed unless it is tested in-game.
Needs verification
Museum
Museum is tracked because players and community content may mention the name. This page does not treat Museum as a confirmed official map until a current in-game source, official Discord post, Roblox description, or trusted video source confirms it.
- Listed for search coverage and source tracking, not as a verified official map.
- No unverified route, reward, or special mechanic is presented as fact.
- Use the verification status before copying map claims from other pages.
Map gallery
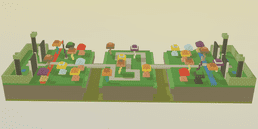
Noob Tower Defense Map Types
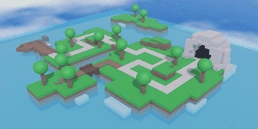
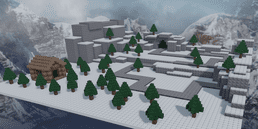
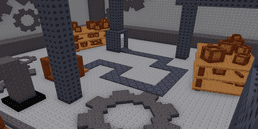
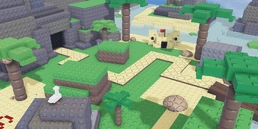
The map gallery is separated by source-listed map type so Simple, Easy, Medium, Hard, Impossible, and Event maps can be maintained without mixing images or names.
Simple Maps
7 source-listed maps
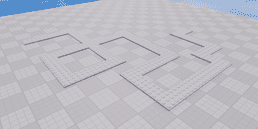
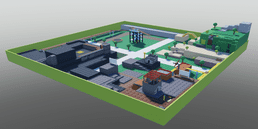
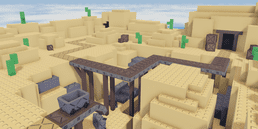
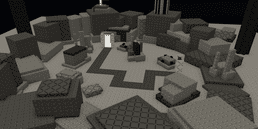
Easy Maps
4 source-listed maps
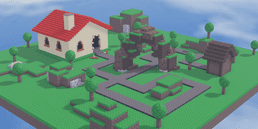
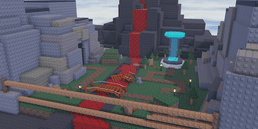
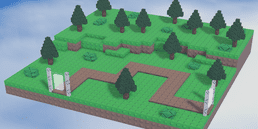
Medium Maps
5 source-listed maps
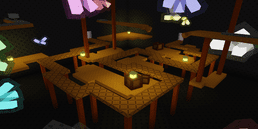
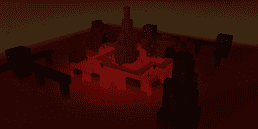
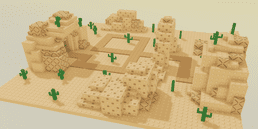
Hard Maps
3 source-listed maps
Impossible Maps
2 source-listed maps
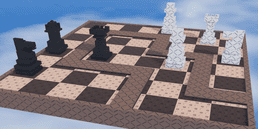
Event Maps
3 source-listed maps
Difficulty modes
Noob Tower Defense Difficulty Modes
Pick the mode that your current units can clear reliably. A harder mode is not automatically better if it causes repeated failed runs.
ModeMeaningBest forWhat to expectVerification note
EasyBeginner modeNew players and first clearsLower pressure, better for learning paths, placement timing, and basic upgrades.No reward multiplier is claimed here without in-game proof.
HardStandard challengePlayers with a few reliable unitsMore pressure than Easy, useful for testing normal damage and economy balance.No reward multiplier is claimed here without in-game proof.
ExpertMid-game testPlayers with stronger units and better upgrade timingRequires steadier wave control, boss damage planning, and fewer wasted upgrades.No reward multiplier is claimed here without in-game proof.
ExtremeHigh-pressure challengeAdvanced players and challenge runsPunishes weak loadouts. Use only after your DPS, support, and economy roles are stable.No reward multiplier is claimed here without in-game proof.
SandboxTesting modeRoute, unit, and interaction testingUseful for experiments, but it should not be used as a formal farming reward reference.No reward multiplier is claimed here without in-game proof.
Which map should I play?
Best Maps for Beginners, Farming, Boss Waves, and Unit Testing
Use this section as a decision guide, not a reward table. It does not claim exact coin, XP, wave, or enemy-stat numbers without current in-game proof.
Player questionMap choiceWhyLoadout rule
Best maps for beginnersStart with Simple or Easy map types and use Base Plate as the safest planning reference when you need a readable route.Beginners need time to learn pathing, placement, early upgrades, and when the first leak happens.Use cheap early DPS first, then add support or Farm only after the lane is stable.
Best maps for farming practiceUse simple, repeatable routes such as Base Plate-style planning maps before chasing harder rewards or Extreme attempts.Farming practice is about reliable clears and clean economy timing, not guessed coin or XP claims.Place early defense first, add Farm after the route is safe, then upgrade the main DPS before boss pressure.
Best maps for boss wavesPick maps where your focused DPS can cover long useful path sections before high-health enemies exit.Boss-heavy runs fail when wave clear works but focused damage, support timing, or upgrade timing is late.Use boss DPS, support value, and pre-boss upgrades instead of relying only on AOE or economy.
Best maps for testing a new unitUse a familiar Simple or Easy map before testing the same unit on harder, split-lane, or event-style routes.A unit test is cleaner when the map is familiar and only one variable changes.Change one unit at a time and compare the same wave problem before keeping the change.
Maps to avoid when your team is weakDelay split-lane, short-route, Hard, Impossible, or event maps until your early defense, boss DPS, and economy timing are stable.Harder map types can hide the real problem by stacking several failures at once.Fix early leaks on easier maps before blaming unit rarity or chasing risky scripts.
Map pressure
Map Pressure and Loadout Fit
Use route pressure to decide which unit role matters first. This section gives planning rules without claiming exact rewards, wave counts, or hidden map modifiers.
Map pressureMain riskLoadout responseNext guide
Short route or early exitFast leaks before economy pays backCheap early DPS first, then Farm only after the lane is stable/units//best-loadouts/ Long route with good coverageUnderusing range or support uptimeLong-range DPS, support timing, and controlled upgrades/tier-list//units/ Split lane or multiple entriesOne strong unit covers only one sideBalanced damage, placement discipline, and less greedy economy/best-loadouts//enemies/ Boss-heavy routeWave clear works but high-health enemies surviveBoss DPS, support value, and upgrade timing before boss waves/tier-list//enemies/ Event or unverified mapOld screenshots or copied map names may be wrongUse source checks first, then test one loadout change at a time/updates//sources/ Which mode should you pick?
New players should start with Easy mode to learn the enemy path, first placements, and upgrade timing. If you already have several reliable units, move into Hard or Expert to test damage, economy, and support balance.
Use Base Plate with Easy or Hard when the goal is stable farming practice. Use Extreme only when your loadout already has enough wave control, boss damage, and upgrade timing to survive without wasting attempts.
Events
Active Noob Tower Defense Events
Event and season names can affect map searches, but this page does not mark any event map as active unless current official or in-game evidence supports it.
EventStatusNotes
Aftermath EventNeeds verificationTracked as an event claim only. Map access, rewards, and timing need current official or in-game proof.
Season 2Track updatesUse the Season 2 guide and update notes to watch whether map names, modes, or code windows change.
Update EventTrack updatesUpdate events can change map relevance, difficulty choice, and farming routes. Check current update notes before treating any claim as active.
Farming route
Base Plate Farming Map
Why Base Plate is good for farming
Base Plate is useful for farming practice because the path is simple, pressure is easier to read, and players can focus on the core decision: when to place Farm, when to add DPS, and when to upgrade for boss pressure.
Lazy Strat
A lazy farming strategy should prioritize stability, not fake maximum-income claims. Build enough early damage to survive, add Farm only after the lane is stable, then upgrade your main damage unit before high-health enemies break through.
Suggested farming steps
- Place a low-cost damage unit first so early waves do not leak.
- Add Farm only after the opening route is stable.
- Upgrade the main DPS unit before boss waves or high-health enemies.
- Use support only when it improves clear consistency, not just because it is popular.
- Do not use Sandbox results as proof for formal coin, XP, or ranked rewards.
Video
Video Guide
A verified YouTube video can be embedded here after the source is confirmed.
Source caution
Map Names We Cannot Verify Yet
These names are tracked because players may search for them. They should not be treated as confirmed official maps until verified through the game, official Discord, Roblox description, or trusted video evidence.
NameWhy listedCurrent statusSafe useNext check
IslandsPlayers may search for island-style map names after seeing community mentions.UnverifiedUse as a search-tracking note, not as a confirmed map.Check official or in-game proof before upgrading the status.
CityGeneric map names can appear in search behavior even before a source is confirmed.UnverifiedUse as a search-tracking note, not as a confirmed map.Check official or in-game proof before upgrading the status.
WastelandsMay come from old content, community speculation, or unrelated tower defense pages.UnverifiedUse as a search-tracking note, not as a confirmed map.Check official or in-game proof before upgrading the status.
MuseumMentioned often enough to track, but still needs current game or official-source proof.Needs verificationUse as a search-tracking note, not as a confirmed map.Check official or in-game proof before upgrading the status.
FAQ
Noob Tower Defense Maps FAQ
How many maps are in Noob Tower Defense?
The number can change after updates. This page separates confirmed planning maps from community-reported map names so unverified claims are not listed as official facts.
Which Noob Tower Defense map should I play first?
Start with a Simple or Easy map type. Base Plate is the safest planning reference because the route is easier to read and better for testing early DPS, Farm timing, and basic upgrades.
What is the best farming map in Noob Tower Defense?
Base Plate is the safest farming reference because it has a simple route and is easier for new players to test Farm timing, upgrades, and DPS placement. This does not mean a specific coin or XP rate is verified.
What is the best map for boss waves?
Use a map where focused DPS can cover a long useful path section and where your support timing can be ready before high-health enemies arrive. Do not rely on unverified reward or enemy-stat claims.
What difficulty should I play for the most XP?
Harder modes may reward stronger play, but failing an Extreme run is usually worse than clearing Easy or Hard consistently. Choose the highest mode your current loadout can clear reliably.
Is Museum a confirmed Noob Tower Defense map?
Museum should be treated as needs verification unless current game evidence, official Discord information, Roblox description text, or trusted video proof confirms it.
How should I change my loadout for different maps?
Change the unit role that matches the route problem. Short routes need early stability, long routes reward range, split lanes need balanced coverage, and boss-heavy maps need focused damage and support timing.
Is Sandbox mode good for farming?
Sandbox mode is useful for testing routes and unit interactions, but it should not be used as proof for formal farming rewards or ranked progress.
Internal links
Plan your Noob Tower Defense run
Endless Mode
Track Endless status, ENDLESSDELAY, Museum Map notes, and long-run loadout prep.
Tower Mastery
Use mastery notes before deciding whether a map is worth repeated runs.
Enemies
Review wave pressure and enemy behavior before choosing a difficulty mode.
Best Loadouts
Build early, boss, Farm, balanced, and challenge loadouts for different map pressure.
Units
Compare unit roles before placing DPS, support, or Farm units on a route.
Tier List
Use combat usefulness and role fit when planning a map run.
Codes
Check code status before spending rewards on map or loadout progress.
Updates
Watch update notes for mode changes, event claims, and new map signals.
Value List
Use trade value separately from map strength and combat planning.